Understanding a photomontage
A photomontage is a still image, taken from one place at one moment. Done well, it is accurate. But it always leaves out part of what people will really see: the effect of distance, of the lens, of the choice of viewpoint, of the light and of the turning blades.
This page explains how to read the photomontages of the Grands Communaux wind farm project, both those in the planning application and those on this site, and how to check them. The diagrams use the project’s turbines: 180 m to the blade tip, hub at 115 m, 130 m rotor.
From photo to video
Every simulation goes through the same steps, shown here on a real example in the Côte-d’Or (Rougemont). Nothing is drawn by hand: each step can be checked. This is the method used for the photomontages and video montages on this site (see Method and technical data).
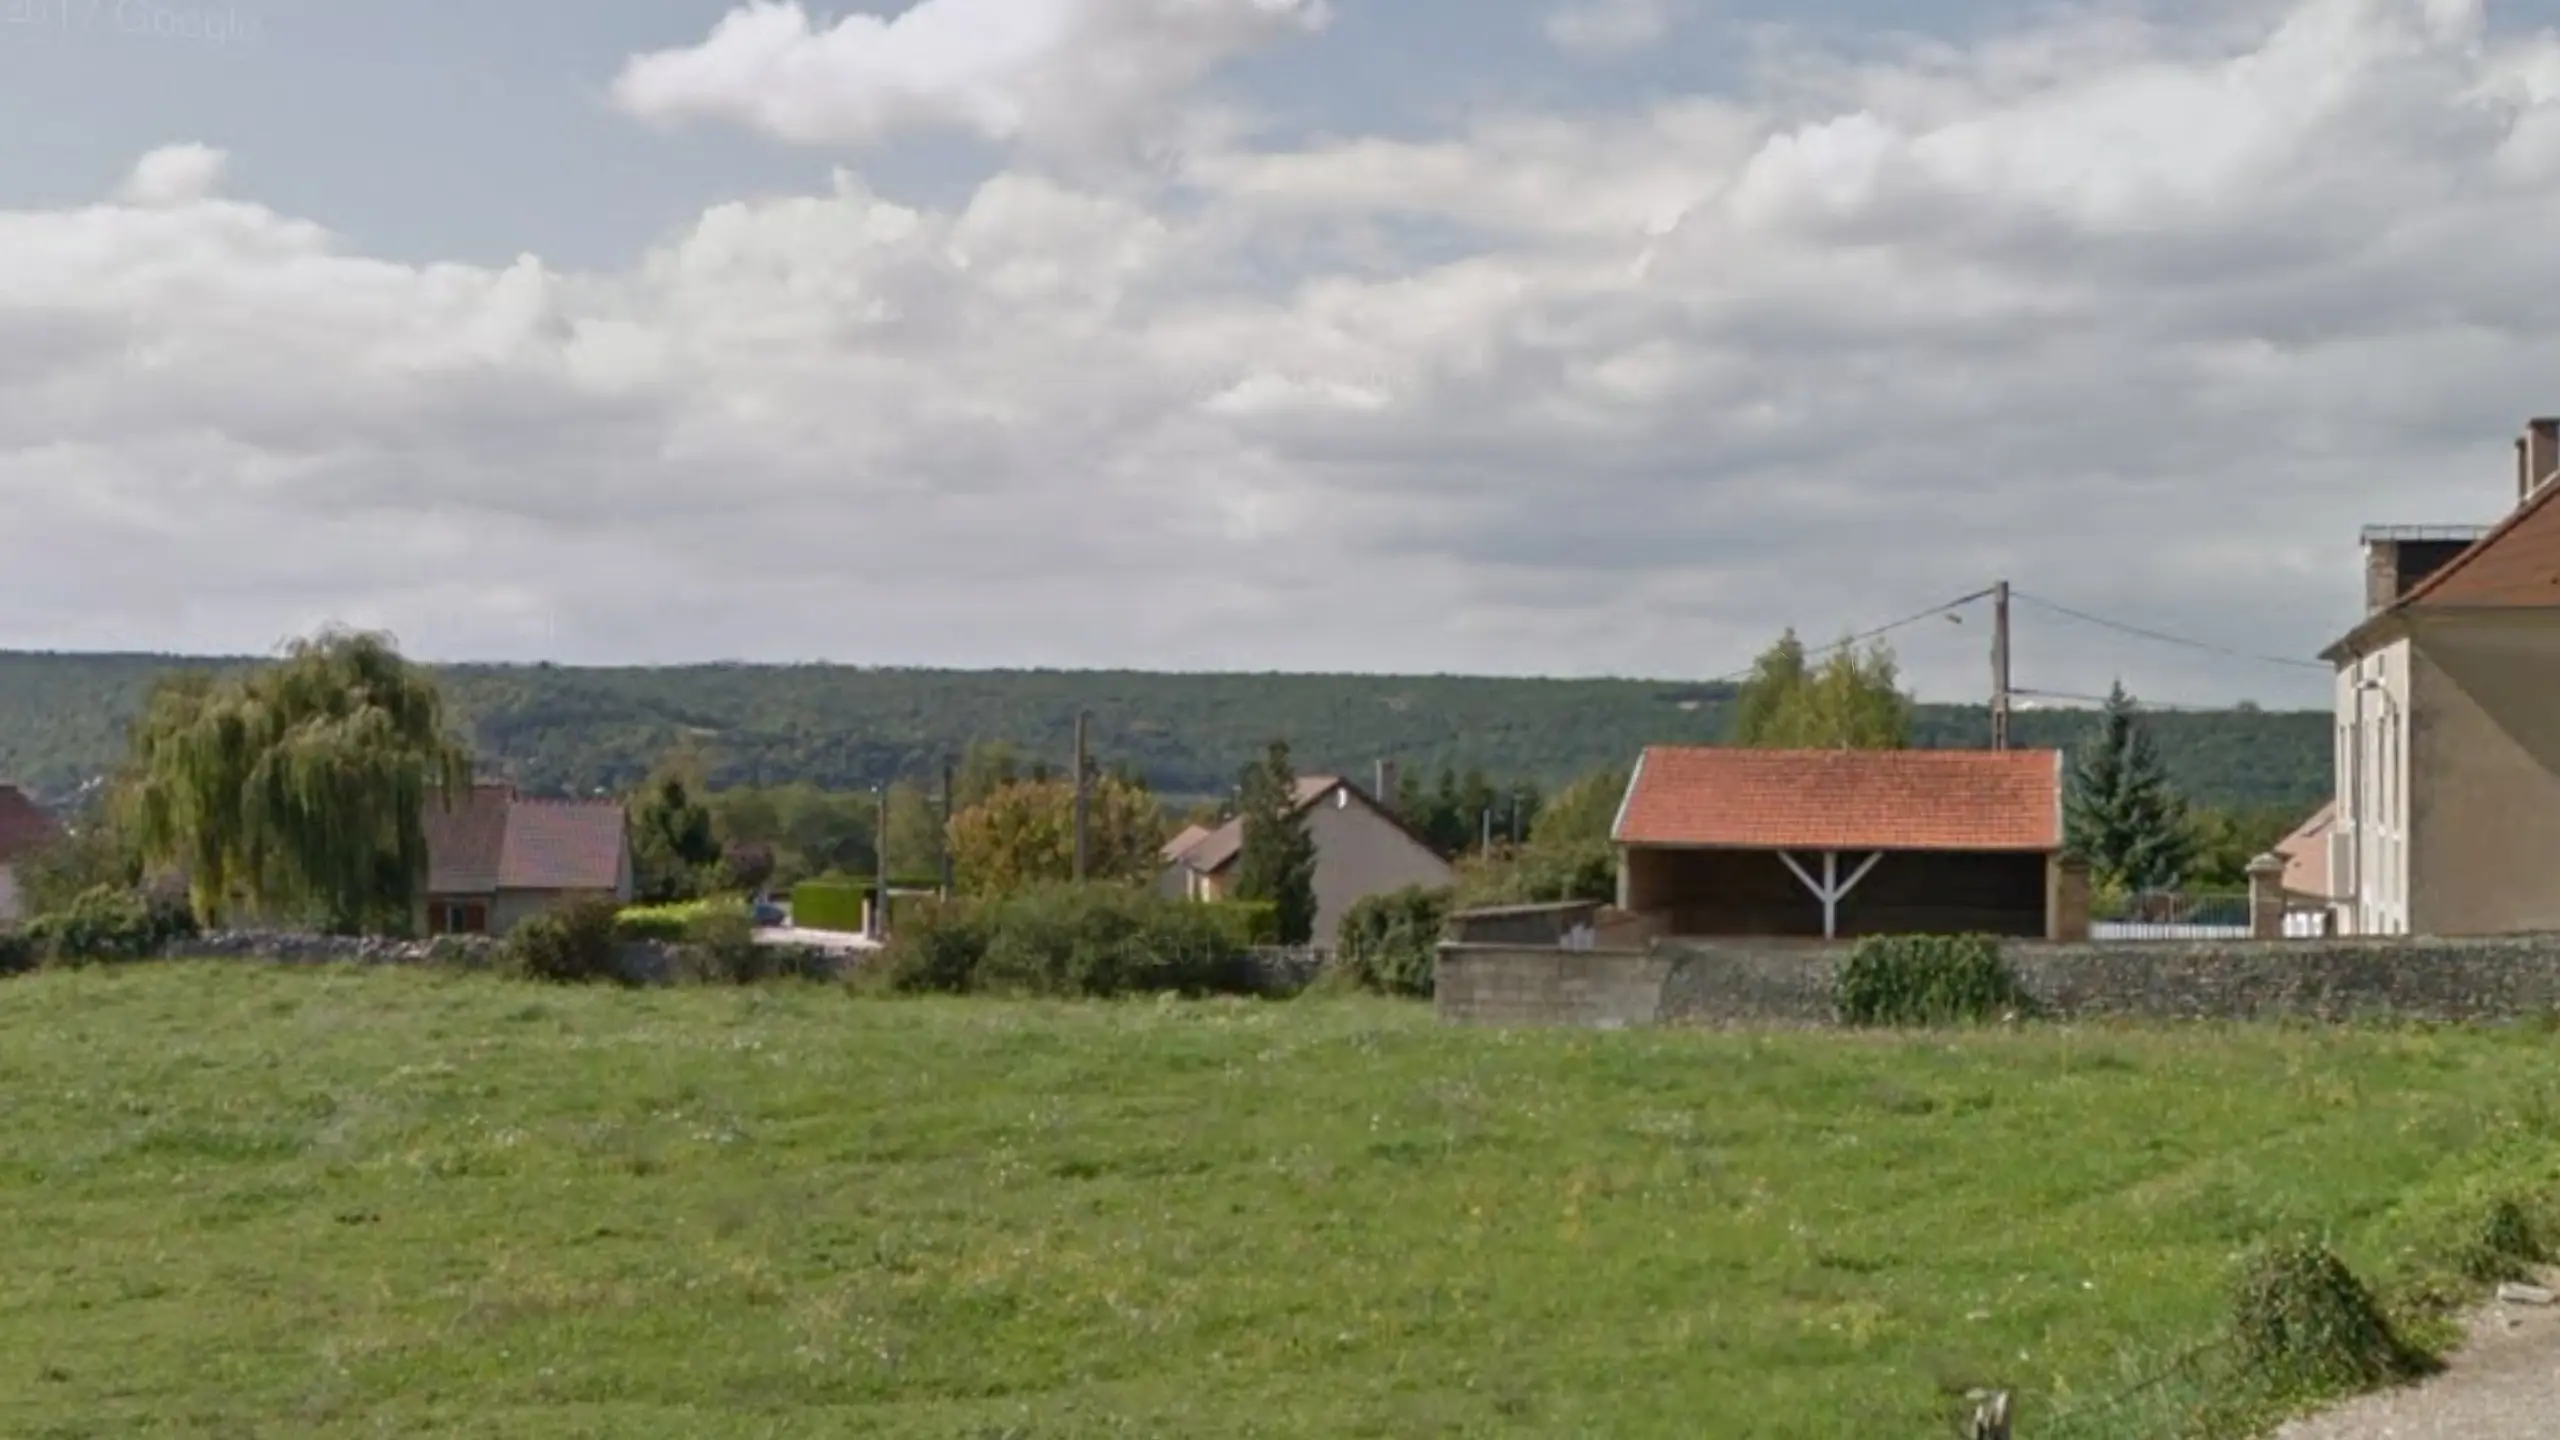
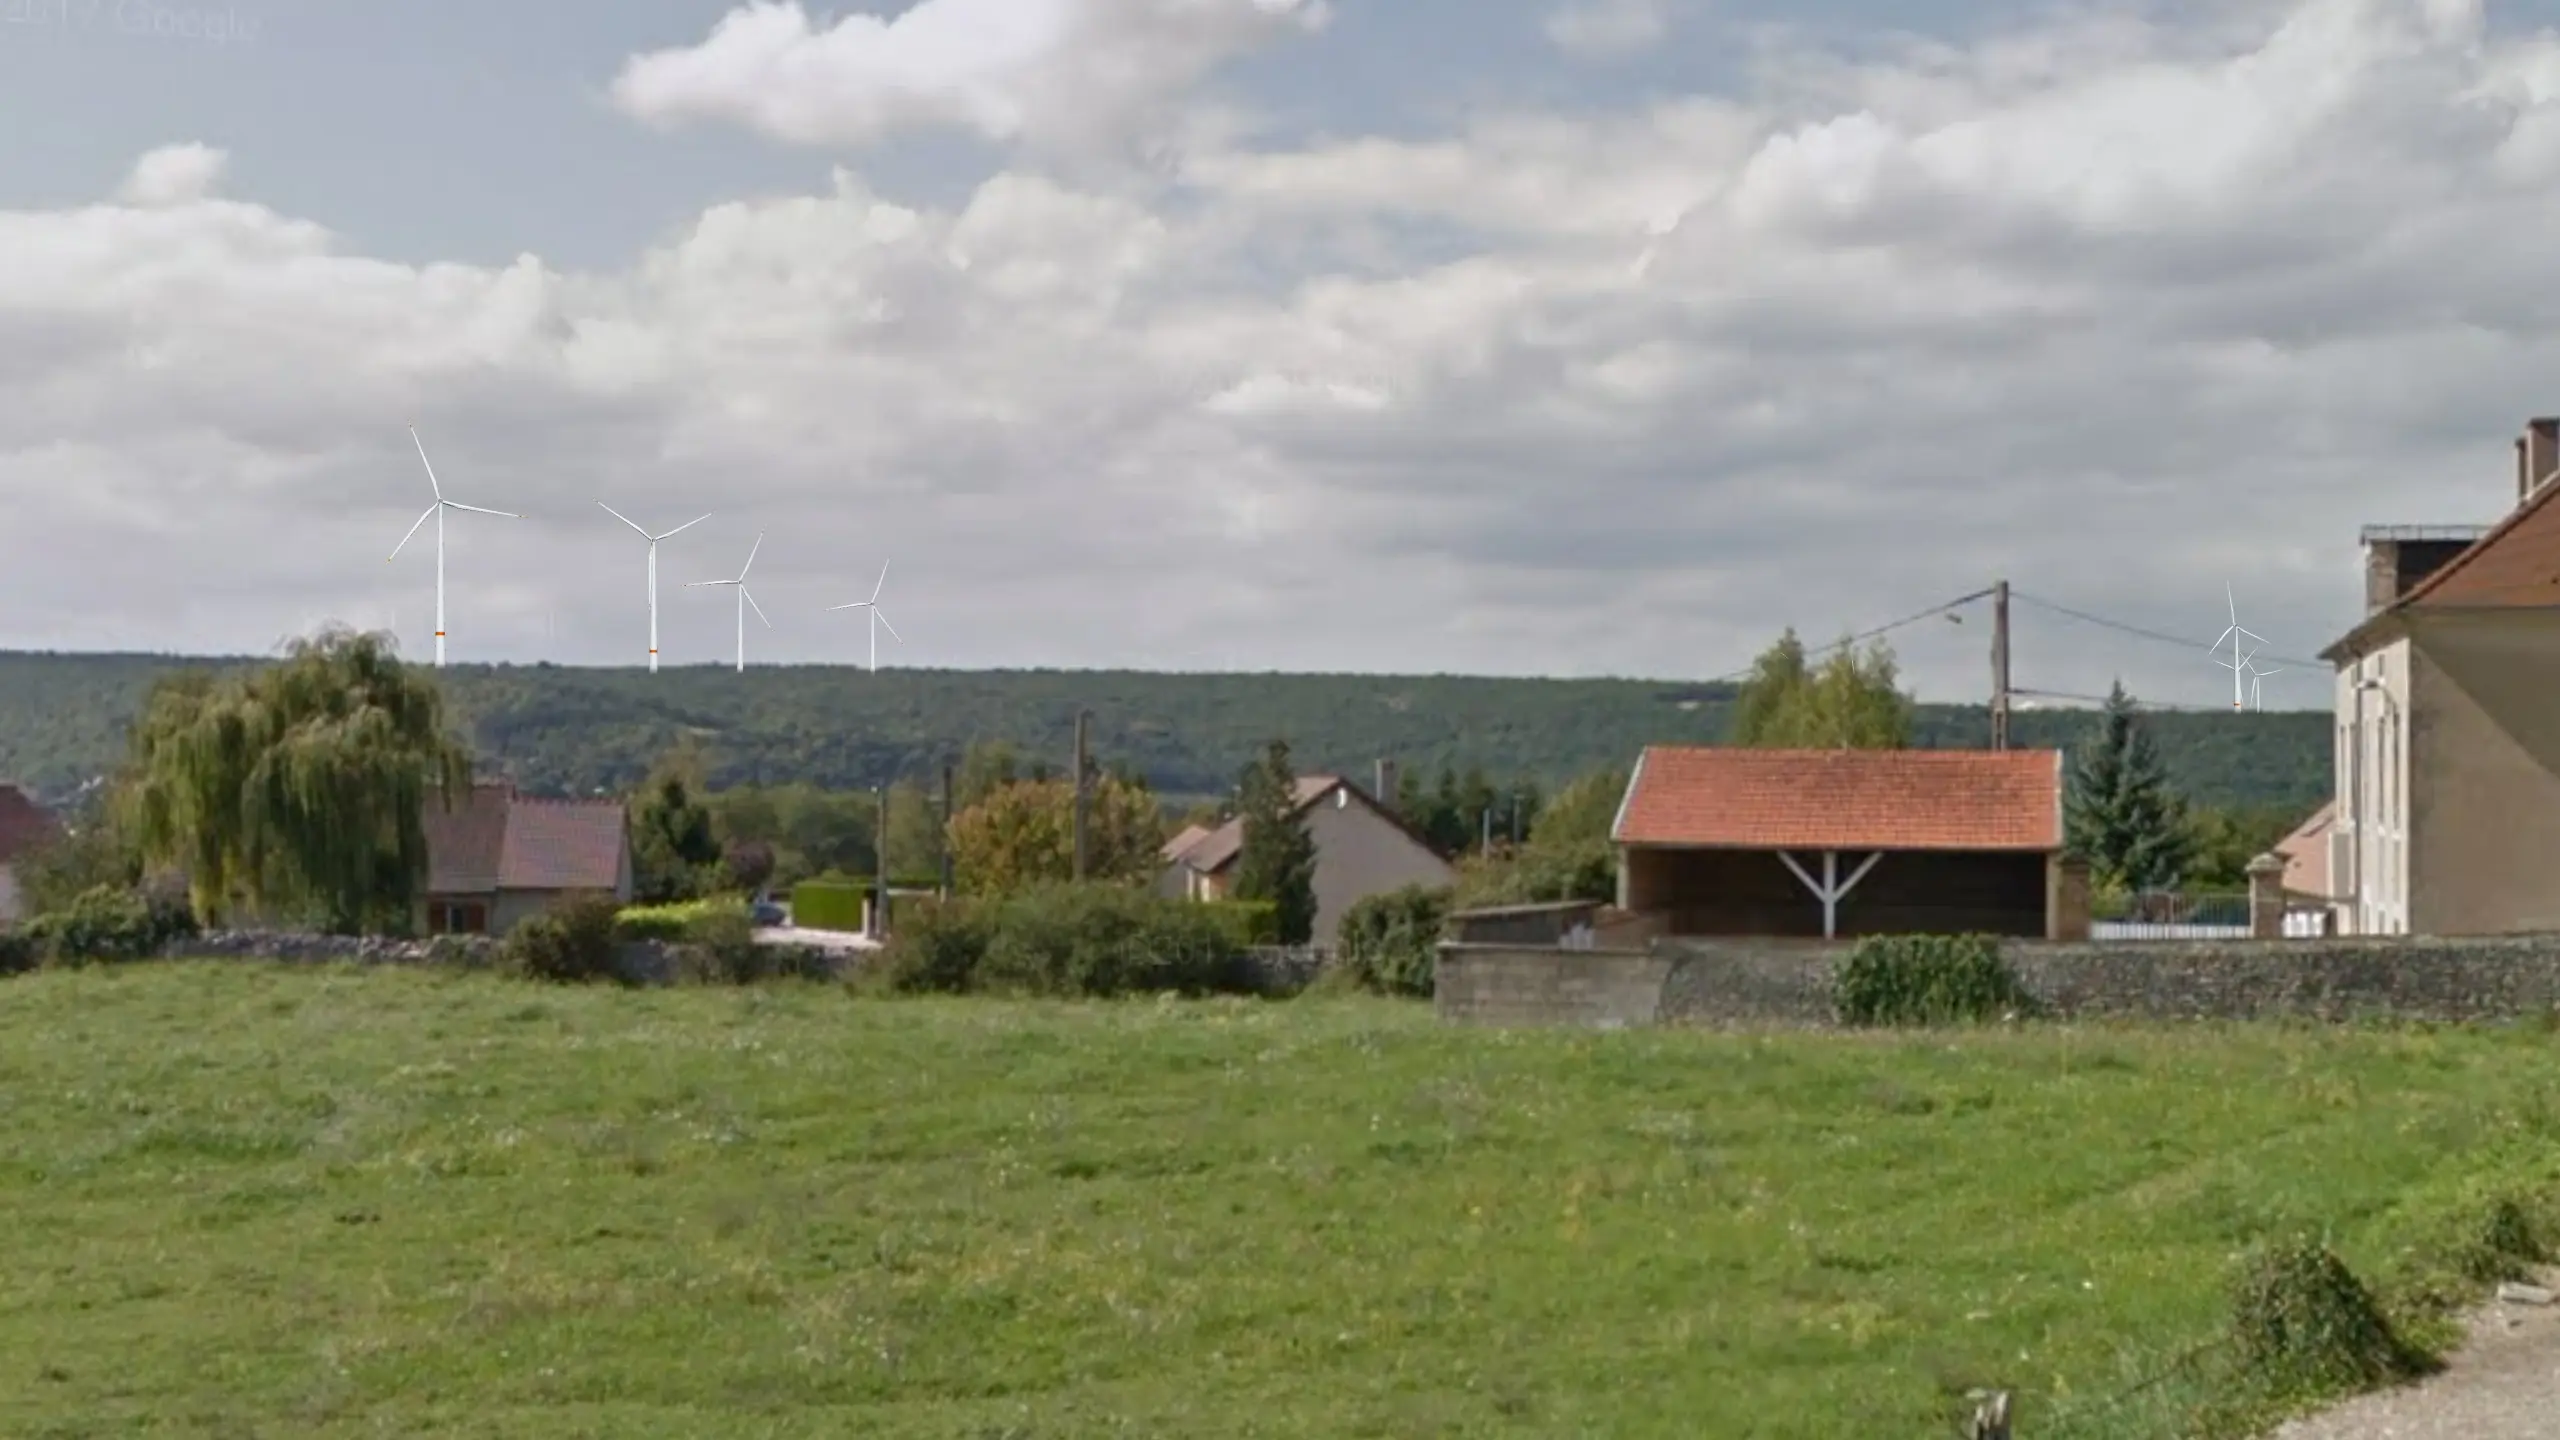
Photo. A Google Street View image, or a panoramic photo taken on site, from the chosen viewpoint.Terrain. A 3D model of the terrain is matched to the photo: every ridge and valley has to line up exactly.Turbines. The turbines are placed at their real coordinates and height. The red circles show the area swept by the blades.Photomontage. The finished image: turbines at their true size, lit like the landscape when the photo was taken.Video. What a still image can’t show: turning blades, which draw the eye far more than a turbine standing still.
The same turbine at different distances
A wind turbine 180 m to the blade tip, seen from 1 to 24 km. Drag the slider: the picture shows the size it would have in a photo taken with a standard 50 mm lens. Most villages around the Grands Communaux are between 1 and 10 km from the turbines (see the map).
- Apparent height
- 2,8°
- At arm’s length it measures
- 3,1 cm
- Hidden by the Earth’s curve
- 0 m
Up to 5 km. The turbine dominates the landscape. Street View images are enough for an accurate photomontage.5 to 10 km. In a low-detail Street View image the turbines look blurred, and so further away than they really are. A photo taken on site is better.Beyond 10 km. In a photo the turbine looks small. But the turning blades still catch the eye well beyond 10 km.
Wide lens, small turbines
The wider the lens, the more landscape it fits into the picture, and the smaller the turbines look. To see them at their true size you must look at the image very closely: an A3 image taken with a 28 mm lens has to be held 33 cm from your eyes.
In practice people read a report or a screen at a comfortable distance, and the turbines look smaller than they will be.
- Angle of view (single photo)
- 39,6°
- Viewing distance for A3
- 58 cm
- Turbine size (50 mm = ×1)
- ×1
Wide angle (28 mm). Lots of landscape, small turbines. An A3 image must be viewed from 33 cm to be at the right scale.Standard lens (50 mm). The standard, and the closest to human vision. An A3 image is viewed from 58 cm.Short telephoto (75 mm). Less landscape, and turbines larger than at 50 mm. An A3 image is viewed from 88 cm.
The developer’s viewpoint, or yours?
A photomontage only shows the view chosen by whoever made it. A viewpoint behind a hedge, a tree or a wall can hide almost all of a project, while a few metres away the view is wide open.
That is why this site also shows viewpoints chosen by local residents: where people live, where they walk, where they stop to look at the landscape.
From A, the hedge hides almost all the turbines. The photomontage looks reassuring.From B, 25 m further on, all five turbines are in full view. This is what passers-by will see.
The worst case is often a clear morning
How visible a wind farm is depends on the time of day and the weather. A photomontage taken at midday in hazy weather can be honest and still show as little as possible.
For a wind farm seen from the west, the worst case is often a clear morning, with the turbines backlit, or late afternoon, with the turbines lit up against a dark forest.
In the morning the sun is behind the turbines: they stand out as dark silhouettes against a bright sky.Around midday, haze flattens the colours. The turbines blend into the sky and almost disappear.In the afternoon the sun is behind you: the turbines are lit up and stand out white against the dark forest.
What a still image can’t show
A photomontage freezes one moment. In reality the blades turn, the light keeps changing and, at night, the beacons flash. Only a video simulation can show this, which is why most places on this site have video montages.
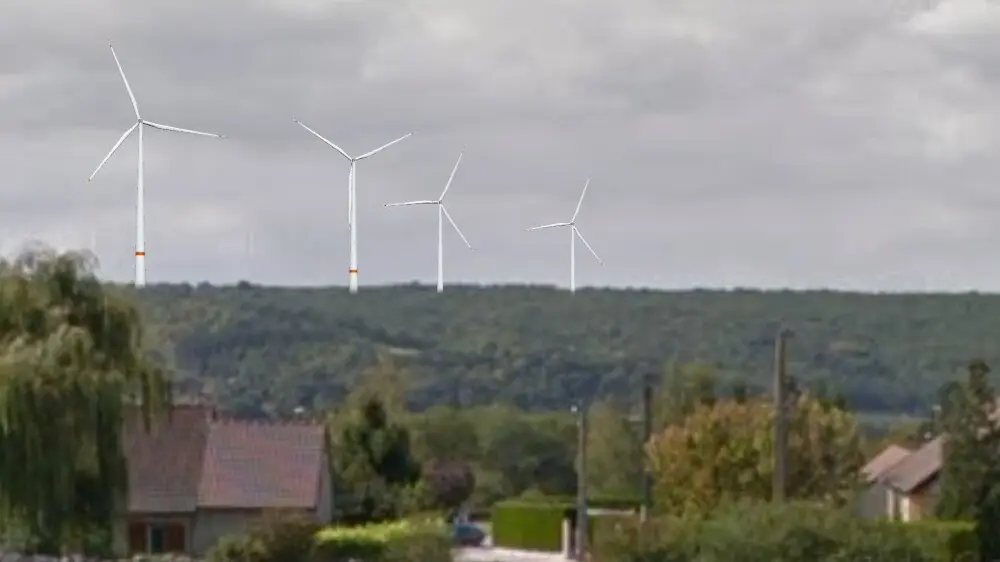
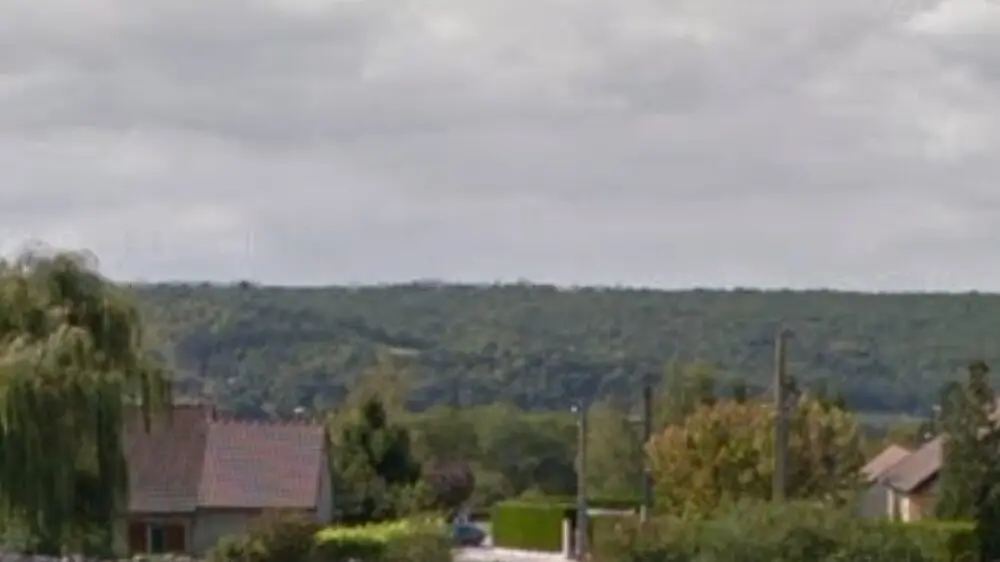
Where will the wind farm be seen from?
A few photomontages only show a few viewpoints. Using the 3D terrain model it is also possible to work out every place the turbines will be visible from, and find the ones no photomontage shows.
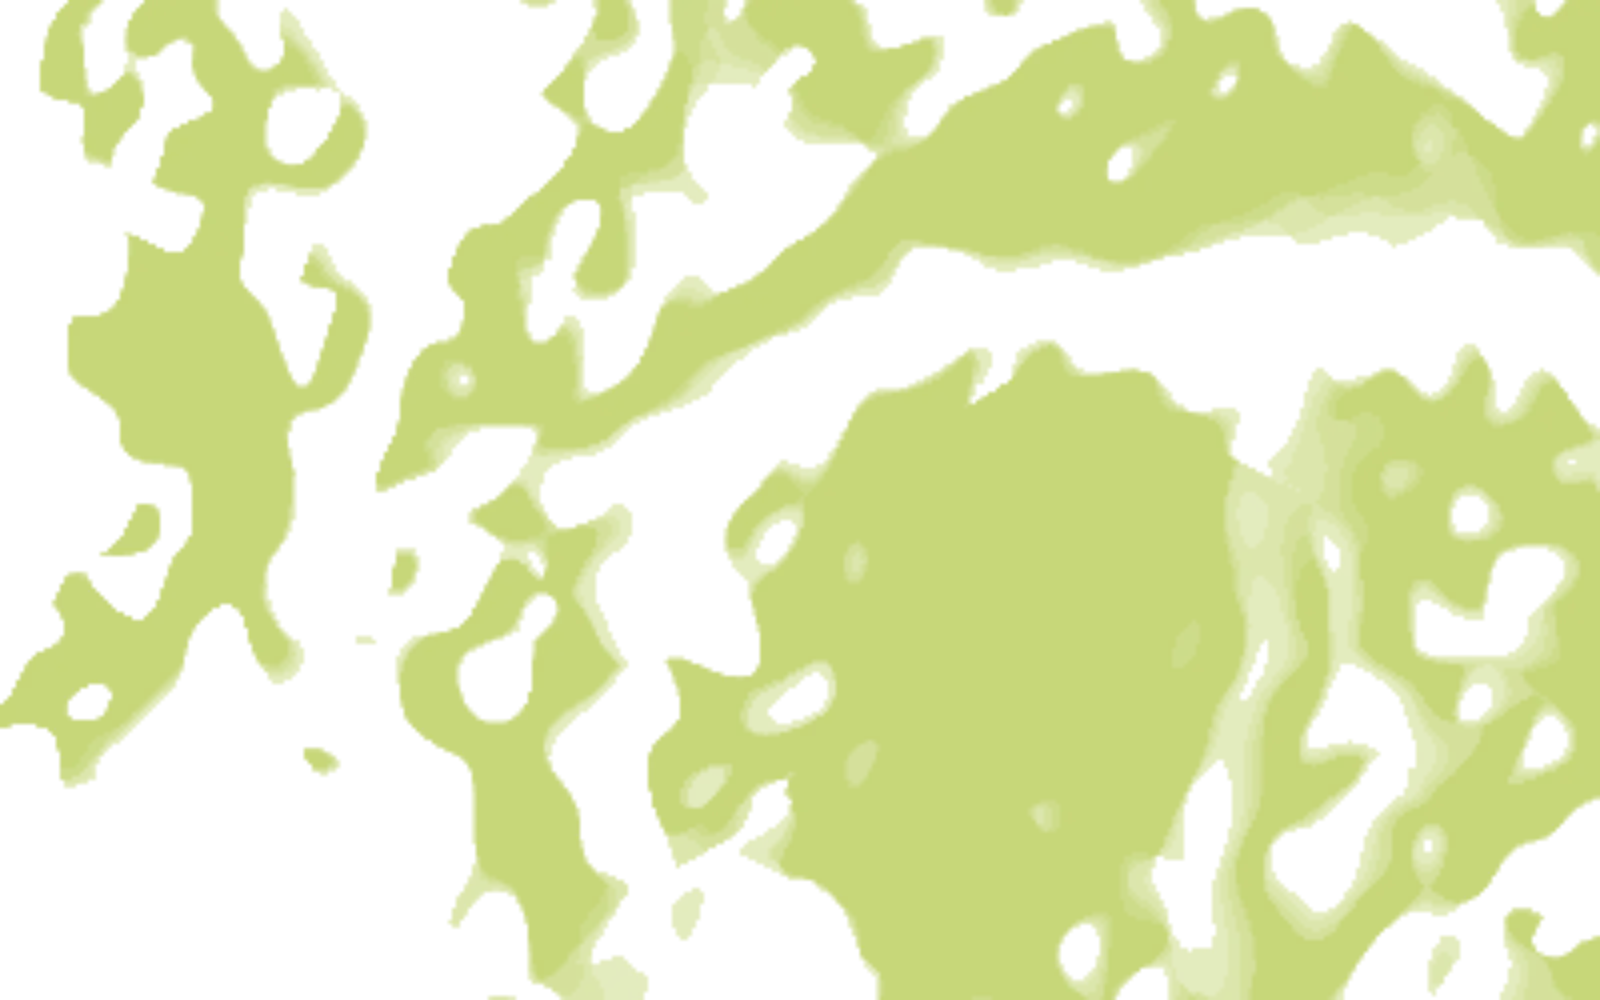
The wind farm. Five turbines on a plateau. The circles mark 5, 10 and 15 km.The photomontages. Six viewpoints chosen for the study. Each one shows a single view from a single place.The visibility zone. Worked out from the terrain, it covers every place at least one turbine will be visible from, including homes that no photomontage shows.
Illustrative example on invented terrain, 40 × 25 km, calculated for 241 m turbines from the terrain and the curve of the Earth, without trees or buildings. The principle is the same for the 180 m Grands Communaux turbines.
And in 20 years? Repowering
A wind turbine is designed to last 20 to 25 years. At the end of that period, the operator may replace the machines with larger models on the same sites: this is known as “repowering”. The photomontages in the planning application only show the first generation.
As an example, the Enercon E141 reaches 229.5 m to the blade tip. Both models are drawn here at the same scale.
- Total height
- +49.5 m 180 → 229.5 m (+28 %)
- Swept area
- +18 % 13,273 → 15,615 m²
- Seen from 3 km
- 3.4° → 4.4° apparent height in the field of view
Five questions to ask of a photomontage
Whether a photomontage comes from the developer or from another consultancy, these five questions quickly show whether it gives a fair picture of the project.
Is everything documented?
For each view: the date and time of the photo, the lens used, the exact position of the viewpoint, and a map.
Are these the right viewpoints?
Places people actually look at the landscape from, with no hedge, tree or post blocking the view in the foreground.
Is the light the least favourable?
Clear weather, with the turbines backlit or against a dark background, not a midday haze that makes them vanish.
Are the size and position right?
Turbine height, rotor and location, the lens, the distance the image should be viewed from, and the curve of the Earth for distant views.
Does the image look real?
Colours, shadows and the extras: access tracks, substations and power lines.
A question about one of the project’s photomontages, or a viewpoint you think is missing?
Write to usBased on the US guide “Evaluating Photosimulations for Visual Impact Assessment”. Diagrams adapted from perception-visuelle.com.